Indulge in the Ultimate Classic Brownie Recipe with a Fudgy Center
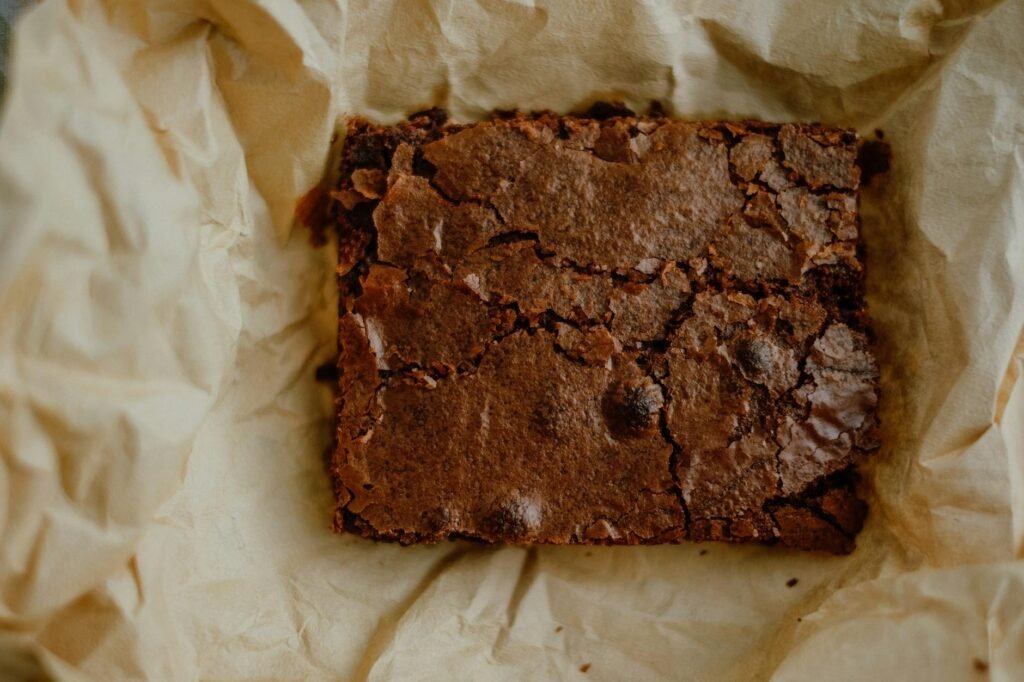
Who can resist the allure of a freshly baked brownie? With its rich aroma wafting through the kitchen, the mere thought of cutting into a decadent chocolate square can make anyone’s mouth water. But what is it about a brownie that captures our hearts? Perhaps it’s the combination of a slightly crisp top layer giving way to a gooey, fudgy center that keeps us coming back for more. As chocolate lovers, we find joy not just in the taste, but also in the process of baking. Let’s explore how to create the perfect classic brownie that balances that irresistible fudgy interior.
Picture this: it’s a rainy afternoon, and you decide to whip up a batch of brownies. You gather your ingredients, preheat the oven, and soon, the magic begins. The rich chocolate melts, mixing seamlessly with butter and sugar, creating a smooth batter that promises to delight. But do you know the secret to achieving that perfectly fudgy center? It’s all about balancing the flour, eggs, and the baking time. Let’s dive deeper into this beloved dessert and uncover the steps to make your brownies the talk of the town.
Gathering Your Ingredients for Success
Before you start, let’s make sure you have all the right ingredients. The beauty of a classic brownie recipe lies in its simplicity. You’ll need unsweetened cocoa powder, unsalted butter, granulated sugar, eggs, vanilla extract, all-purpose flour, and, of course, a pinch of salt. As you gather these ingredients, consider using high-quality cocoa powder. This small choice can elevate your brownies from good to absolutely divine. Remember, when it comes to baking, quality matters.
Just last weekend, I had a brownie-baking session with my niece, Ella. She insisted on using a fancy cocoa powder she found at the local bakery. The difference in flavor was profound! It’s amazing how a simple substitution can impact the final product. So, let’s not overlook the importance of choosing the best ingredients. Not only will it enhance the taste, but it will also give you a sense of pride in your baking prowess.
The Art of Mixing: Technique Matters
Now that you have your ingredients in front of you, it’s time to mix. Here’s the thing: the way you combine the ingredients can affect the texture of the brownies. For a fudgy brownie, you want to be careful not to overmix after adding the flour. This can incorporate too much air, making the brownies cake-like instead of dense and chewy. To achieve that fudgy center you crave, mix until you see just a few streaks of flour remaining.
During my brownie experiments, I stumbled upon a little trick. After mixing the wet ingredients, I like to let the batter sit for about 5 minutes before adding the flour. This allows the cocoa to bloom, intensifying the chocolate flavor and giving it that rich depth we all adore. So, don’t rush through this step; let your batter develop its personality just a bit longer before it hits the oven!
Baking: Timing is Everything
As you prepare to bake, preheat your oven to a steady 350°F (175°C). This temperature is crucial for getting that perfect crust while ensuring the inside remains soft and fudgy. Pour your brownie batter into a greased baking pan and spread it into an even layer. But here’s where many bakers falter: the baking time! Too long, and you might end up with dry brownies. Too short, and they’ll be gooey.
I remember a time when I mistakenly set my timer for 30 minutes instead of 25. The result? Brownies that were almost too chewy to enjoy. Instead, aim for that sweet spot—usually around 25 to 28 minutes, depending on your oven. Remember to check for doneness by inserting a toothpick into the center; it should come out with a few moist crumbs clinging to it. This ensures the fudgy center remains intact, just as it should be.
Cooling and Serving: The Hardest Part
Once your brownies are out of the oven, it’s essential to let them cool in the pan for at least 10 minutes before transferring them to a wire rack. I know, it’s tempting to dive right in, but patience is key here. Cooling allows the brownies to set, enhancing their texture and making them easier to cut. If you rush this process, you might end up with a gooey mess instead of perfect squares.
When it’s finally time to cut, use a sharp knife and wipe it clean between cuts to achieve those clean edges. Serve them warm with a scoop of vanilla ice cream or drizzle some caramel sauce over the top for an extra indulgent treat. Can you imagine the ooey-gooey goodness melting together? The flavors will dance on your palate, leaving you craving another bite.
Variations to Elevate Your Brownies
For those looking to get creative, the classic brownie recipe is highly versatile. You can easily add nuts, chocolate chips, or swirl in some peanut butter or cream cheese for a fun twist. Each variation can create a unique flavor profile that caters to personal tastes. At the end of the day, brownies are like a blank canvas, just waiting for you to unleash your creativity.
Last month, I made a batch swirled with raspberry jam, and the tangy fruitiness complemented the rich chocolate perfectly. The contrast of flavors surprised my family and added a delightful twist to the traditional recipe. So, the next time you whip up a batch, don’t hesitate to experiment. What flavors would you like to try?
Conclusion: Time to Bake Your Own Fudgy Brownies!
Now that you’re equipped with the knowledge to create the ultimate classic brownie, it’s time to grab your ingredients and get baking! There’s something incredibly rewarding about making desserts from scratch, isn’t there? Whether you stick to the classic recipe or venture into exciting territories with flavors and add-ins, each batch tells a story.
So, what are you waiting for? Grab those cocoa powder and butter, and let your kitchen be the haven of chocolatey goodness. I’d love to hear about your brownie experiences! Have you tried making them fudgy? What unique twists did you introduce? Share your thoughts and any tips in the comments below!